Well, the
weather hasn’t gotten any better over the last few days, and while long term
forecast isn’t showing any promise, my tinkering has increased tenfold. While I
have played a lot with different guide configurations with the new micro guides
I am putting on my new “Black Cherry” panfish rod, my interest, as of late, has
been on different materials for jig and fly tying.
While I
have my personal favorites, it is always fun to experiment with new materials.
One new material I really like for natural colors is dog fur. Yes, you read
that correctly. When I am tying flies or jigs and need some more natural colors,
I will clip a bit of hair off of one of my dog’s tails. There is a ridiculous
amount of different materials available for tying jigs. But like other aspects
of fishing, you can keep it simple or make it as difficult as your experience
level dictates.
The
terminology in tying your own jigs can be a little goofy (like most fishing
subcultures) so here is a quick rundown of some of the more popular materials
to get you started:
- Kiptail: This is tail hair from a
calf, though there are other substitutes that are used. It can be found
dyed in a lot of different colors, is relatively inexpensive, is common
and is easy to work with. The downside for jigs is that it does not have a
lot of movement in water, so if you want a lot of action on your jig, this
might not be the material for you
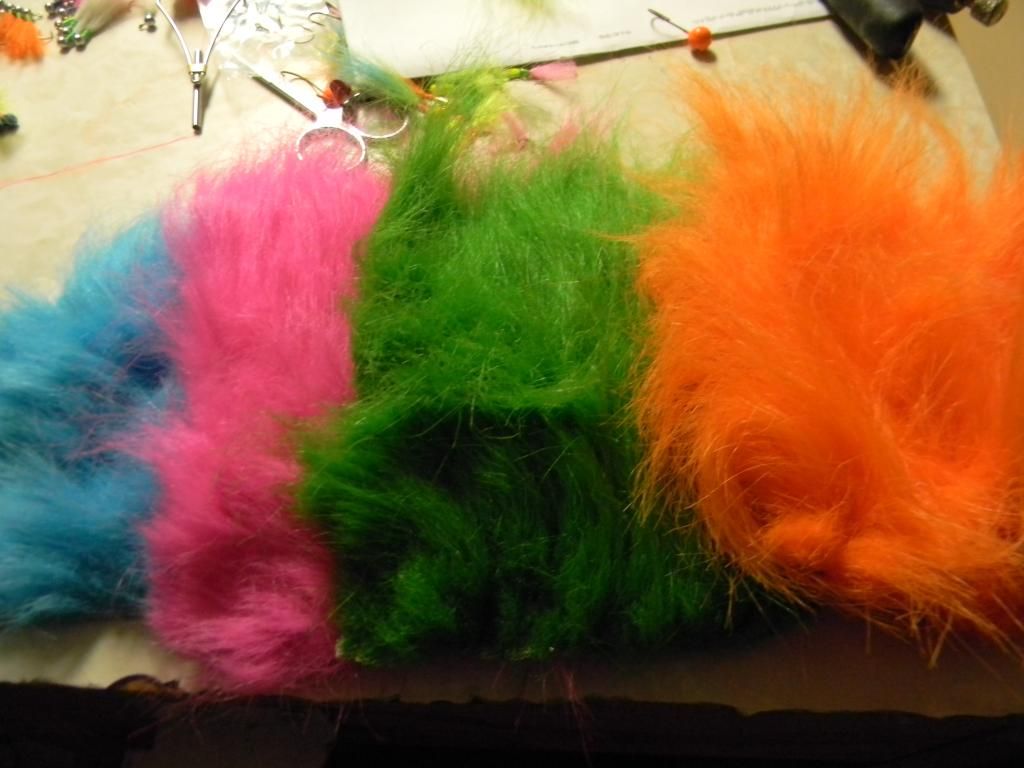
- Extra Select Craft Fur: This is my
favorite for jig tails. It is an artificial hair that can be dyed in any
color you could imagine. It has the advantage of being long enough that
you can tie anything from streamers to little jigs by selecting how much
you cut off. It also has a lot of movement in water. The downside is that
it can be a little messy to tie with, so a vacuum is your friend when you
are done tying.
- Marabou: Marabou has the most
movement of any of the tying materials used for jig tails, but it is also the
most difficult to work with, it gets everywhere (including up your nose,
in your hair, etc). It is a nightmare to work with, try other material
first.
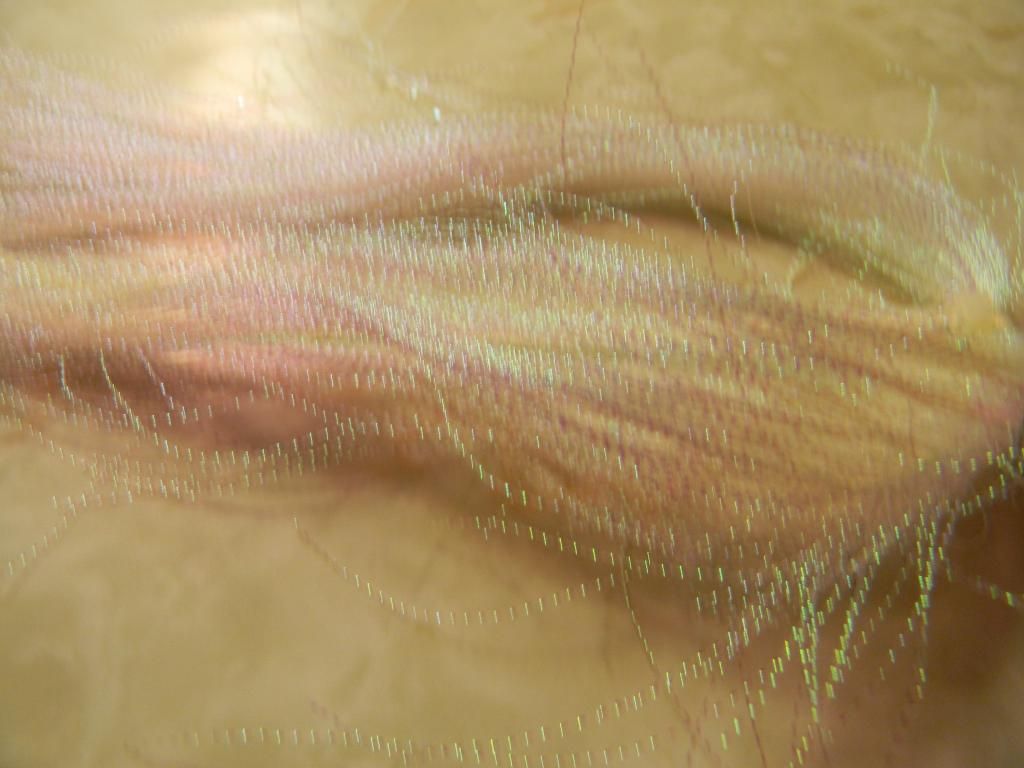
- Flashabou: Flashabou is another
synthetic material. Unlike other synthetics, however, this material has
some real sparkle. Add flashabou to your jigs before you put on another
material and you add a little sparkle to your jig as it moves in the
water. It is very easy to work with and comes in a variety of different
colors.
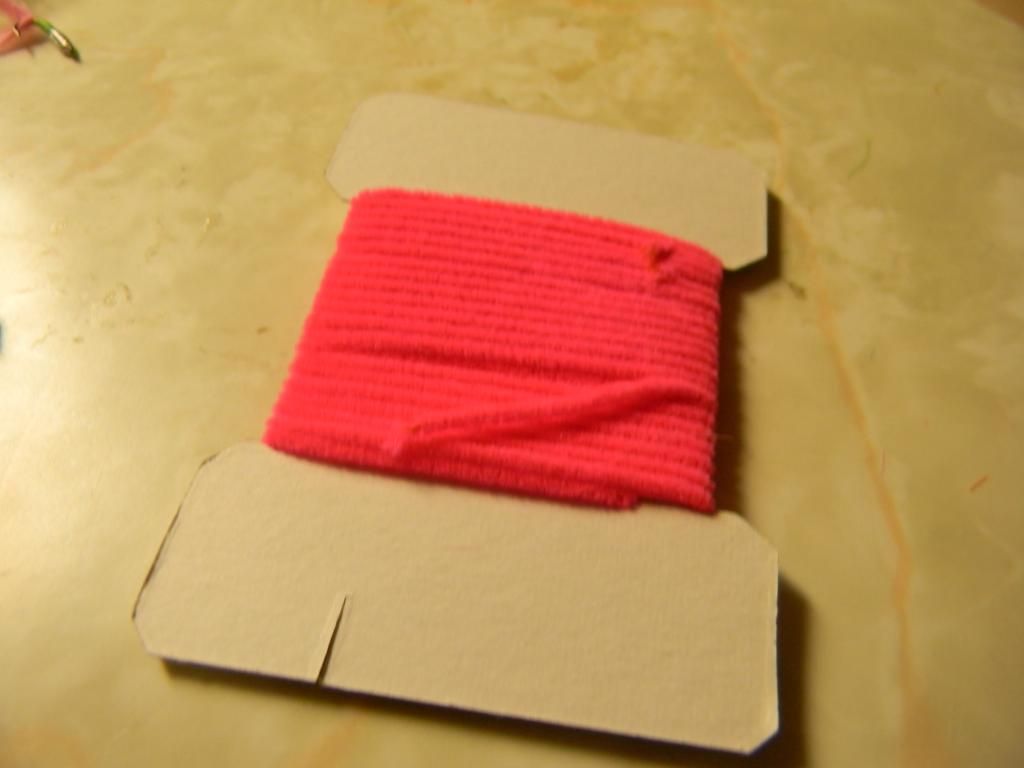
- Chenille: Chenille is used to add
a body to your jig. It is very easy to work with and can make color combos
“pop” a lot more than simple thread. Put the chenille on after you have
added the tail, start your tie at the tail, then wind the chenille and
finish near the head of the jig.
- Peacock Herl: This is a cool
material if you want to add something a little different to your jigs. It
is available in very limited colors, but is great when wanting to tie a
more naturally colored jig. While it is easy to work with, remember that,
unlike chenille, there are individual strands that are at a certain
length, so if you are tying a jig with a super long shank, plan ahead. One
or two strands of peacock herl can also be added with a tail material to
produce an interesting look in the water.
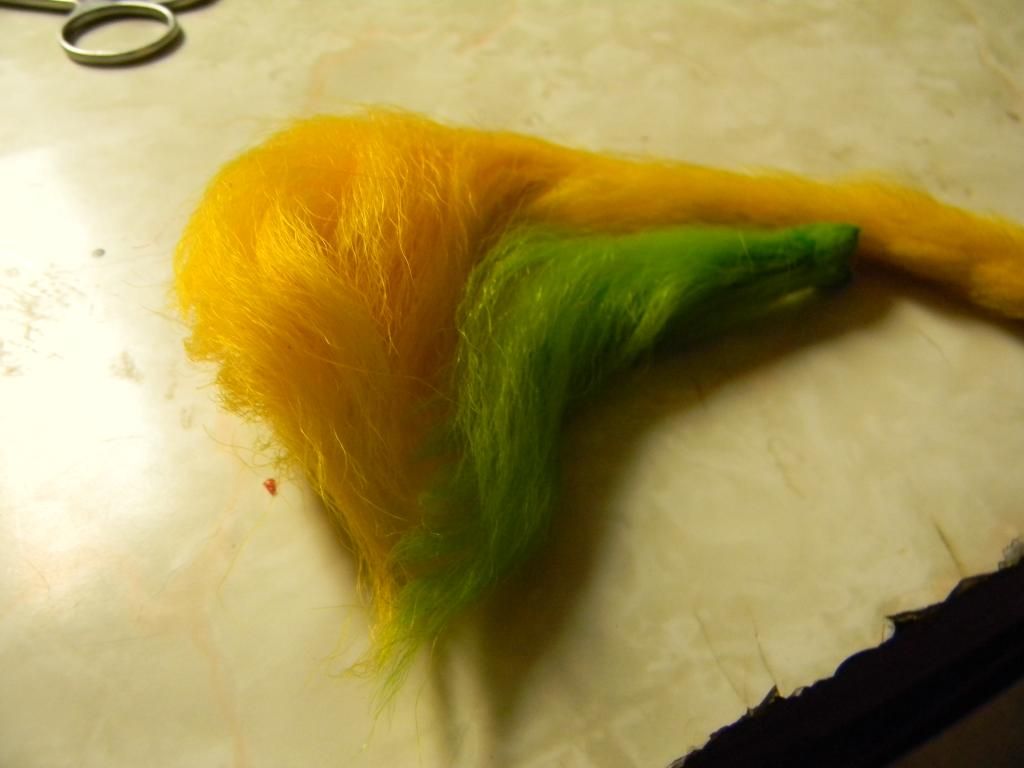
- Natural Materials: There are a
variety of other natural materials you can tie with, and even acquire your
own very easily. One of my favorite is squirrel tail. It is very easy to
work with, and while it can be very difficult to do, you can dye it different
colors. Bucktail, is another material, but is generally used for flies as
it is hollow and floats. As I mentioned before, dog fur is another great
material to tie with. Depending on the type of dog you have (I am assuming
you have a dog, because people who don’t have a dog are generally weird)
it is also relatively abundant, if you don’t believe me, check my vacuum.

Well, there
is a quick rundown of the more popular materials. If you haven’t started tying
your own jigs, you really should. It can be as simple as adding a tail to jigs
you already have in your tackle box, or as complicated as my setup, where I
pour my own jigs with a lead mold and tie 10 of each color and size at a time.
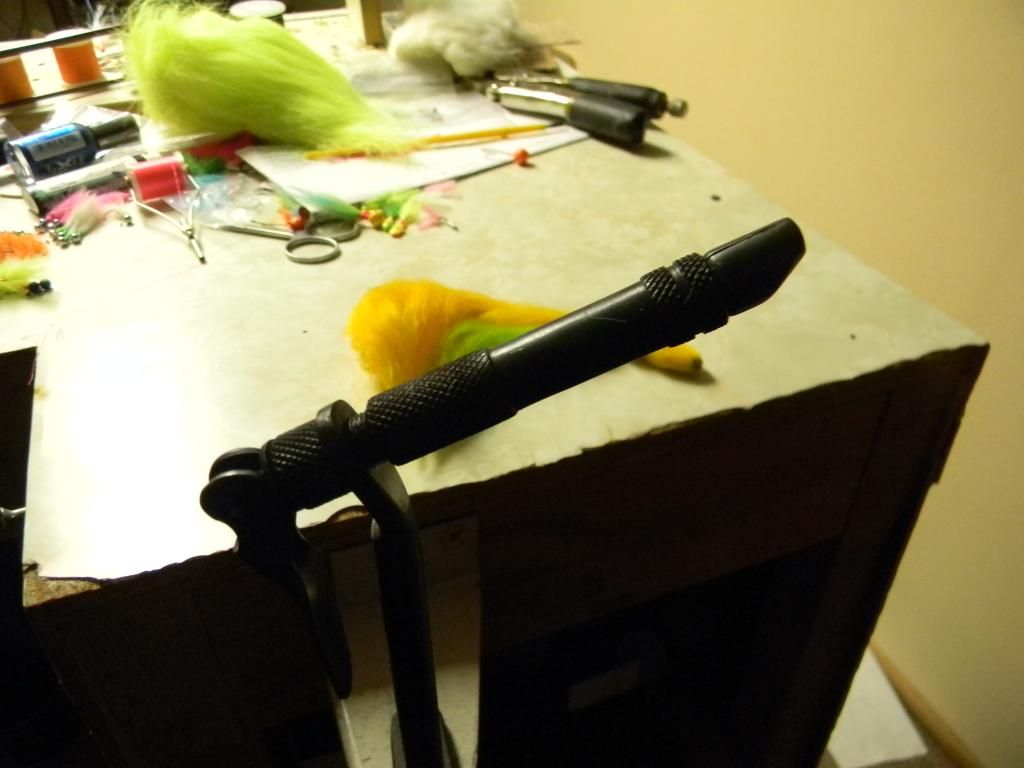
As far as vises, for jig tying, you don’t really need anything fancy to get
started. Simply decide if you want a stand alone or a clamp style vise, then
find a cheap one. You won’t need a vise that rotates, changes angles, and
possibly cooks you eggs on the side, unless you are planning on making something
that will go on the cover of Fly Tyer magazine. My vises (yes, I have more than
one) are cheapies I found online for around $10 each. Good luck tying, and
please share what you have tied up with me. I am always interested in seeing
new ideas and designs to try.
No comments:
Post a Comment