Thursday, March 20, 2014

Southern Style Slabs

Southern Style Slabs
By: Bob Bohland

            They say everything is bigger in the south, including the crappies. The tactics of southern guides often go unnoticed or ignored by anglers in the north, mostly due to the fact that northern crappie anglers are content to sort through small fish as fast as they can catch them with small jigs, and don’t really want to worry about ways that might catch them more and bigger fish. Little do they know they are missing out on several sure-fire ways to catch some real monster slabs, “I have caught some of my best crappie while using cranbaits” says Oklahoma guide Barry Morrow
            There are actually two different ways to use crankbaits for crappies, pushing or pulling. “Pulling crankbaits is using one or several poles keeping them spaced apart and long lining 20 -60' or further behind your boat. Pushing crankbaits is having poles in rod holders at the front of the boat, usually four to eight poles.  By adding weight in front of a swivel, 1.5, 2 or 3 oz., you can push the cranks in front of the boat.  You simply adjust the depth you want and weight you need to hold the cranks down and push with your trolling motor” notes Morrow. Pulling cranks works better for clear waters where fish can be spooked from the shadow of a boat, whereas pushing works very well on stained waters and gives you much more control over how and where you fish the baits.
            While the southern guides generally use rods longer than 10 feet, these can be hard to come by in the midwest unless you order from a southern dealer or have a custom rod builder make one up for you. Don’t let this deter you from using rods you already have at your disposal, a 6 or 7 foot rod will work just fine for fishing crankbaits for crappies, according to Morrow, “The key in your pole is that the tip action is soft enough that it won't rip the bait out of the fish on hook set and yet have enough back bone to control the fish.” The most important thing when pushing or pulling cranks is your spacing, generally you want at least 3 feet between baits to help prevent tangling when you get a strike.
            Crankbait selection is also very important as you want to be able to know the exact depth your bait is running at to maximize your fishing time. “When looking for crank baits, I'm looking for a bait that will troll at the depth of 8' - 10' with 50 foot of line out.  Like the Lindy # 5 Shadling,” adds Morrow. Also with the colors available for the Shadling, you can match any bait the fish may be feeding on. Speed also plays an important aspect in how Morrow fishes his crankbaits for big slabs, “I have found that 1 mph to 1.5 mph works best for pulling cranks.” So make sure you have a good GPS unit to monitor your speed.
            There are several times that cranks will outshine almost any other bait presentation, spring and fall are two great times as the fish are eating more at these times of year and in transition from one area to another. “I would pull cranks when ever the fish are in a transition stage from deep water to shallow flats or flats to deep water.” Says Morrow about the best times, “This could be a spring to summer pattern or a summer to fall pattern.  Your looking for suspended fish or fish feeding along channels or just off the channel on flats. I've also pulled cranks along dropoffs where fish will be suspended in that 8' to 14' range.”
            Next time you wanna boat a limit of real slab crappies, don’t hesitate to take some info out of the playbook of a southern guide who fishes slabs for a living. Crappies don’t behave differently just because of how far north or south they are, guides like Morrow simply have more time to perfect their skills chasing these big slabs, uninhibited by ice. Where it is legal, fish more than one line while trolling cranks as Morrow does, “You have more lines out and can have different colors to work with.” Also don’t feel overwhelmed if the presentation doesn’t pay off for you right away, there is lots of “trial and error” according to Morrow, but once you learn this technique it will pay off by allowing you to catch the biggest and most aggressive fish in a lake.


Barry Morrow is a professional fisherman who guides on Lake Eufala in Oklahoma, he is on the water over 210 days a year chasing slab crappies. He also tournament fishes and has several top finishes in elite tournaments, for more info check out his website at www.barrymro.com
Monday, March 10, 2014

Overlooked Fisheries

Overlooked Fisheries
Bob Bohland

            In the days of satellite mapping on cell phones, GPS with mapping chips, and internet forums where fishing information spreads like wildfire, it can be tough to strike out on your own and find a tiny little honey hole that you can keep to yourself. But if you are willing to put in the leg work, use the technology to your advantage, and come up empty handed a couple times, you can find some amazing tiny little spots, even close to the big cities.
            One of my favorite little spots I discovered when living in the Twin Cities was so small that it would barely qualify as a pond. I would frequently fish the lake across the road for walleyes and panfish, and one day my curiosity got the best of me and I hiked over. After the first few holes I drilled brought up nothing but stinky black mud, I was a little disheartened and ready to turn back, but I pushed on and drilled out to the middle of the pond where I found depths of almost 30 feet, furthermore, there were several marks suspended on my flasher! I ran back to my little Otter sled and grabbed the first rod I could, dropped the walleye-sized spoon down the hole and was rewarded with a decent crappie flopping on the ice. While not a monster to most anglers, an 11” crappie inside the 94 corridor in the Twin Cities is something to be proud of. Most little ponds like this one won’t have the kind of depth I found that day, this pothole had several other things going for it: 1. it had water flowing through it which supplied oxygen for fish present to survive winter, 2. it connected to a larger waterway that had a decent fishery, and 3. The ring of cattails and other emergent vegetation gave it the appearance of being a shallow duck slough which kept other from trying to fish it.
            Learning the little secrets of ponds around the metro that most drove past while on their ways to bigger waters gave me a huge edge when I was able to travel further from home. Small ponds like these are sprinkled across the ice belt, yet only a select few give them the time they are worth. One of the first steps is to log on to a resource like the MN DNR Recreation Compass or Google Maps. Pick an area you would like to target and start doing some research. Obviously lake surveys are a great place to start, but some of the best spots will either have a survey that is 20+ years old or they will not have one at all. Little ponds out in the middle of nowhere can be productive if you are out closer to the Dakotas, but for the most part around Central and Eastern Minnesota they will be shallow and unable to support consistent fish populations. However, feeder creeks, small rivers and streams can provide enough oxygen and food to make panfish thrive. By clicking on the mapping portion of the program, it will be much easier for you to identify these little blue squiggles as they trace their way across the land. The small little feeder creeks aren’t the only ones that can point you to a great fishery though, even larger rivers such as the Mississippi, the Rum, and the St Croix can have little backwaters that are often overlooked by others. This can be either because they don’t want to bother to check and see if there are fish or it could be that they are concerned over ice conditions on the way to the spot.
            A body of water doesn’t have to be tiny to be overlooked, however. Lakes that are on the way to, or are near more popular angling destinations often are bypassed in the excitement to get to a more noteworthy fishery. The Chisago chain of lakes near the Twin Cities is a prime example of this. As a very popular spot for panfishermen, these lakes see thousands of anglers a year. But a quick look at a map shows dozens of lakes that anglers drive past on their way to supposedly greener pastures. Many of these bodies of water have equal, if not better fishing (with much smaller crowds) than those in the Chisago area.
            Lakes in and around the most populace areas have the same problem. Anglers still suffer from the misconception that you have to travel a long way out of the metro to find decent fishing. There are a few that have zero complaints about this ideal, since it provides them with some amazing fishing without the crowds mere minutes from home. Lakes in your own backyard, or even outside your office window, can produce some wonderful results if you are willing to give them a try. One lake my brother and I found a few years ago is right next to a junction of to major freeways in the Twin Cities. I would estimate that close to 200,000 people drove by this body of water every day. We didn’t even know it was there until we found it on Google Maps. Our next step was to research lake maps and survey info; to our surprise we found that it had a great panfish population. Just like that we were rewarded with our own hidden gem that was a mere 5 minutes from home.
            Panfish aren’t the only overlooked angling opportunities to be found. When you are poring over survey info, don’t forget to take a look at stocking info. One of my favorite little metro puddles has had literally millions of walleye stocked in it during the last ten years. This “lake” is only around 150 acres, but puts out some fantastic walleyes every year because no one else realizes it’s potential.

            Homework, it’s a dirty word to most. But it makes a huge difference between striking out and catching fish when scouting out some new honey holes. Google Maps, aerial photos, lake surveys, GPS, and plat maps (these help out a ton when trying to get onto private/semi-private waters) are all readily available for you to use. So why aren’t you using all available resources as opposed to the old word-of-mouth from the bait shop? The technology is there, set out on your own and find yourself a little spot that isn’t already crowded by truck-loads of other anglers.

Wednesday, March 5, 2014

Tying Your Own Jigs

            Well, the weather hasn’t gotten any better over the last few days, and while long term forecast isn’t showing any promise, my tinkering has increased tenfold. While I have played a lot with different guide configurations with the new micro guides I am putting on my new “Black Cherry” panfish rod, my interest, as of late, has been on different materials for jig and fly tying.
            While I have my personal favorites, it is always fun to experiment with new materials. One new material I really like for natural colors is dog fur. Yes, you read that correctly. When I am tying flies or jigs and need some more natural colors, I will clip a bit of hair off of one of my dog’s tails. There is a ridiculous amount of different materials available for tying jigs. But like other aspects of fishing, you can keep it simple or make it as difficult as your experience level dictates.
            The terminology in tying your own jigs can be a little goofy (like most fishing subcultures) so here is a quick rundown of some of the more popular materials to get you started:

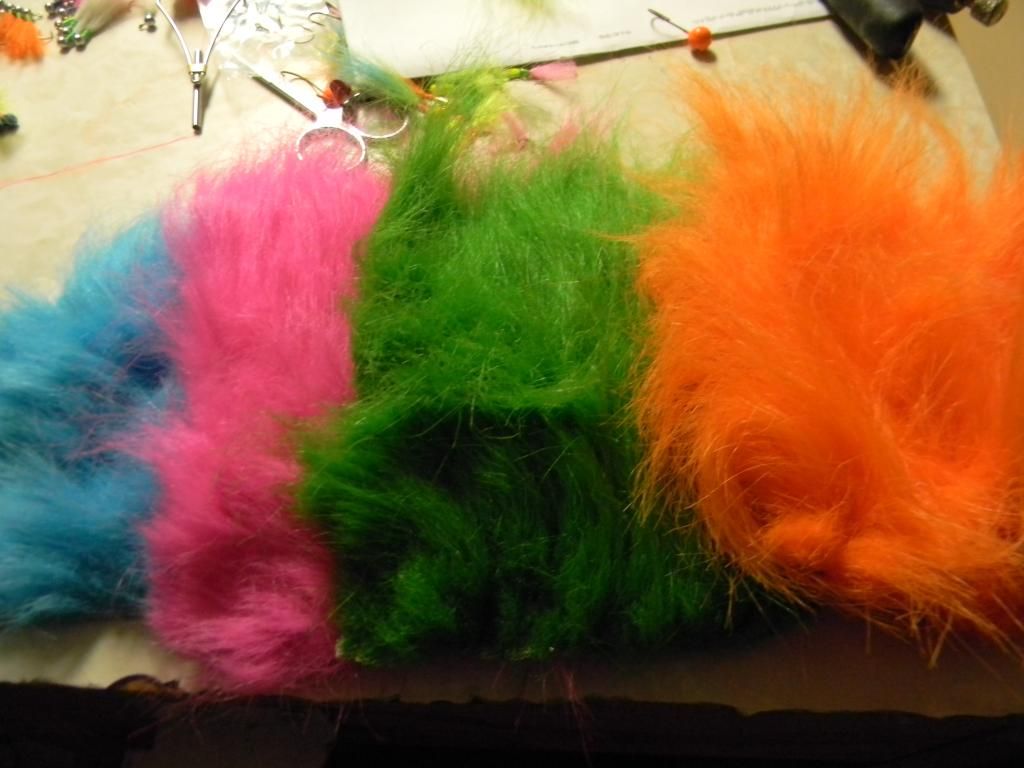
  • Kiptail: This is tail hair from a calf, though there are other substitutes that are used. It can be found dyed in a lot of different colors, is relatively inexpensive, is common and is easy to work with. The downside for jigs is that it does not have a lot of movement in water, so if you want a lot of action on your jig, this might not be the material for you
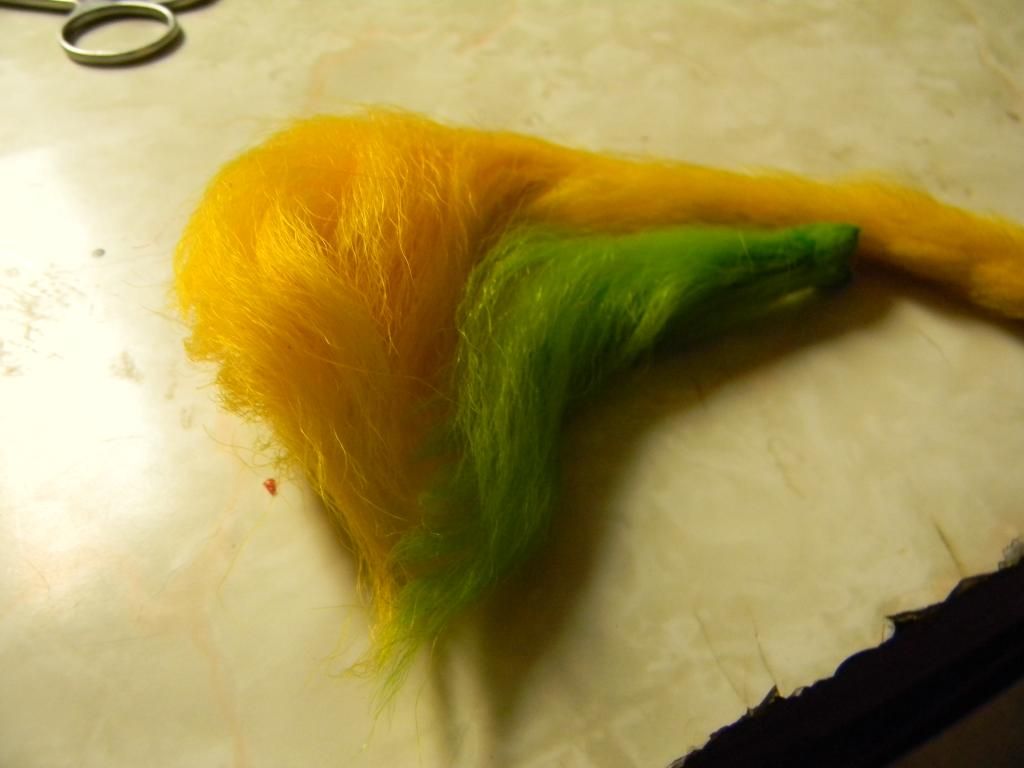
  • Extra Select Craft Fur: This is my favorite for jig tails. It is an artificial hair that can be dyed in any color you could imagine. It has the advantage of being long enough that you can tie anything from streamers to little jigs by selecting how much you cut off. It also has a lot of movement in water. The downside is that it can be a little messy to tie with, so a vacuum is your friend when you are done tying.
  • Marabou: Marabou has the most movement of any of the tying materials used for jig tails, but it is also the most difficult to work with, it gets everywhere (including up your nose, in your hair, etc). It is a nightmare to work with, try other material first.
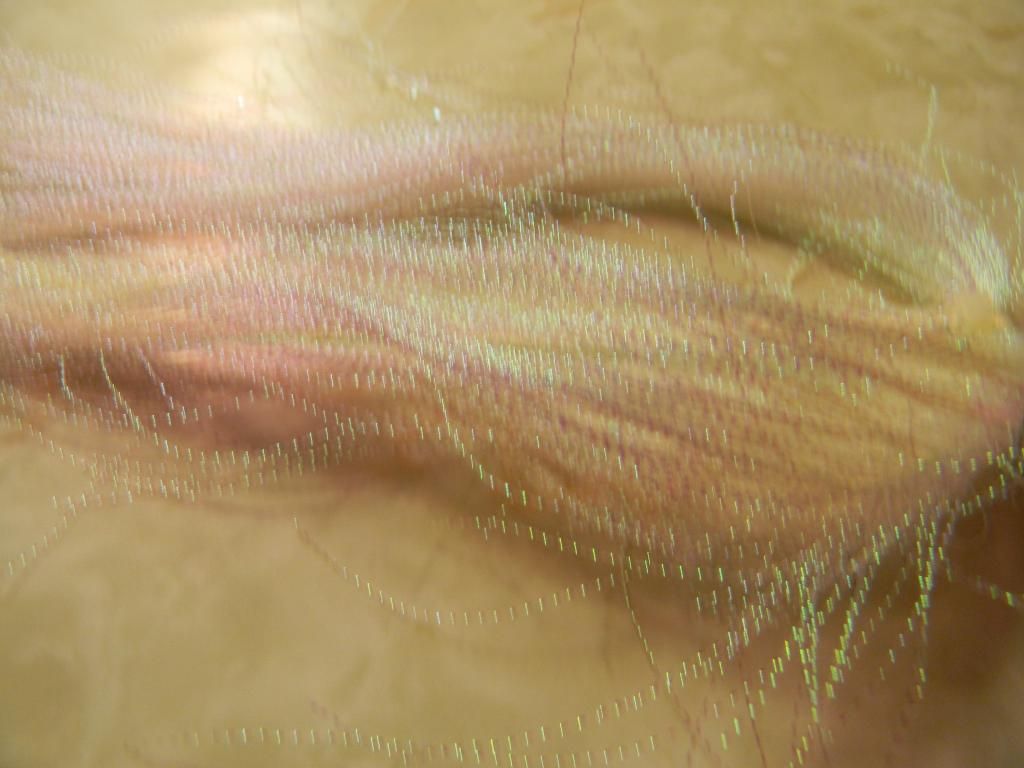
  • Flashabou: Flashabou is another synthetic material. Unlike other synthetics, however, this material has some real sparkle. Add flashabou to your jigs before you put on another material and you add a little sparkle to your jig as it moves in the water. It is very easy to work with and comes in a variety of different colors.
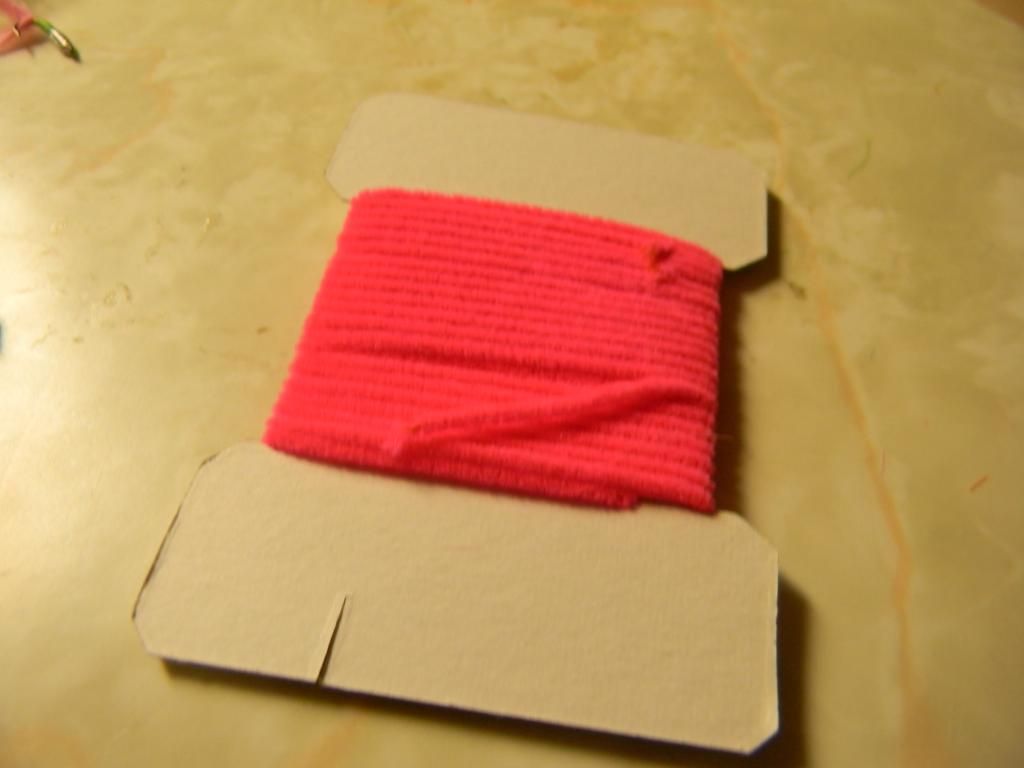
  • Chenille: Chenille is used to add a body to your jig. It is very easy to work with and can make color combos “pop” a lot more than simple thread. Put the chenille on after you have added the tail, start your tie at the tail, then wind the chenille and finish near the head of the jig.
  • Peacock Herl: This is a cool material if you want to add something a little different to your jigs. It is available in very limited colors, but is great when wanting to tie a more naturally colored jig. While it is easy to work with, remember that, unlike chenille, there are individual strands that are at a certain length, so if you are tying a jig with a super long shank, plan ahead. One or two strands of peacock herl can also be added with a tail material to produce an interesting look in the water.
  • Natural Materials: There are a variety of other natural materials you can tie with, and even acquire your own very easily. One of my favorite is squirrel tail. It is very easy to work with, and while it can be very difficult to do, you can dye it different colors. Bucktail, is another material, but is generally used for flies as it is hollow and floats. As I mentioned before, dog fur is another great material to tie with. Depending on the type of dog you have (I am assuming you have a dog, because people who don’t have a dog are generally weird) it is also relatively abundant, if you don’t believe me, check my vacuum.

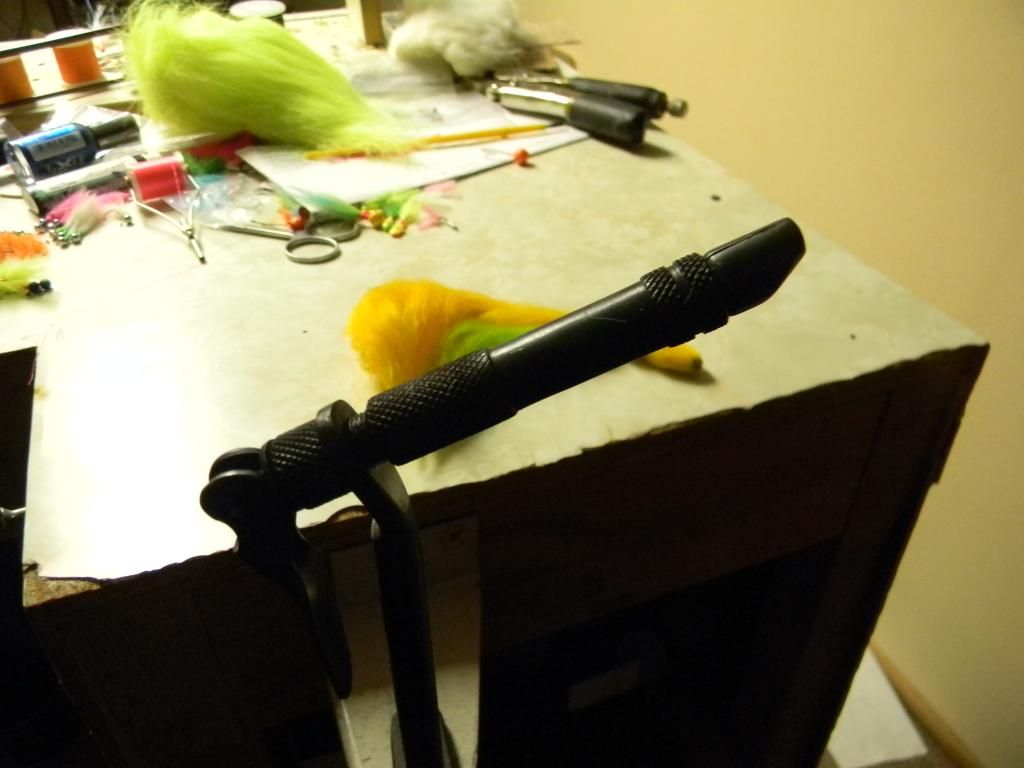
            Well, there is a quick rundown of the more popular materials. If you haven’t started tying your own jigs, you really should. It can be as simple as adding a tail to jigs you already have in your tackle box, or as complicated as my setup, where I pour my own jigs with a lead mold and tie 10 of each color and size at a time. As far as vises, for jig tying, you don’t really need anything fancy to get started. Simply decide if you want a stand alone or a clamp style vise, then find a cheap one. You won’t need a vise that rotates, changes angles, and possibly cooks you eggs on the side, unless you are planning on making something that will go on the cover of Fly Tyer magazine. My vises (yes, I have more than one) are cheapies I found online for around $10 each. Good luck tying, and please share what you have tied up with me. I am always interested in seeing new ideas and designs to try.